.svg)
How to create a project
Every design in Genia begins by creating a new project. This initial step captures the essential high-level information that frames the entire design process.
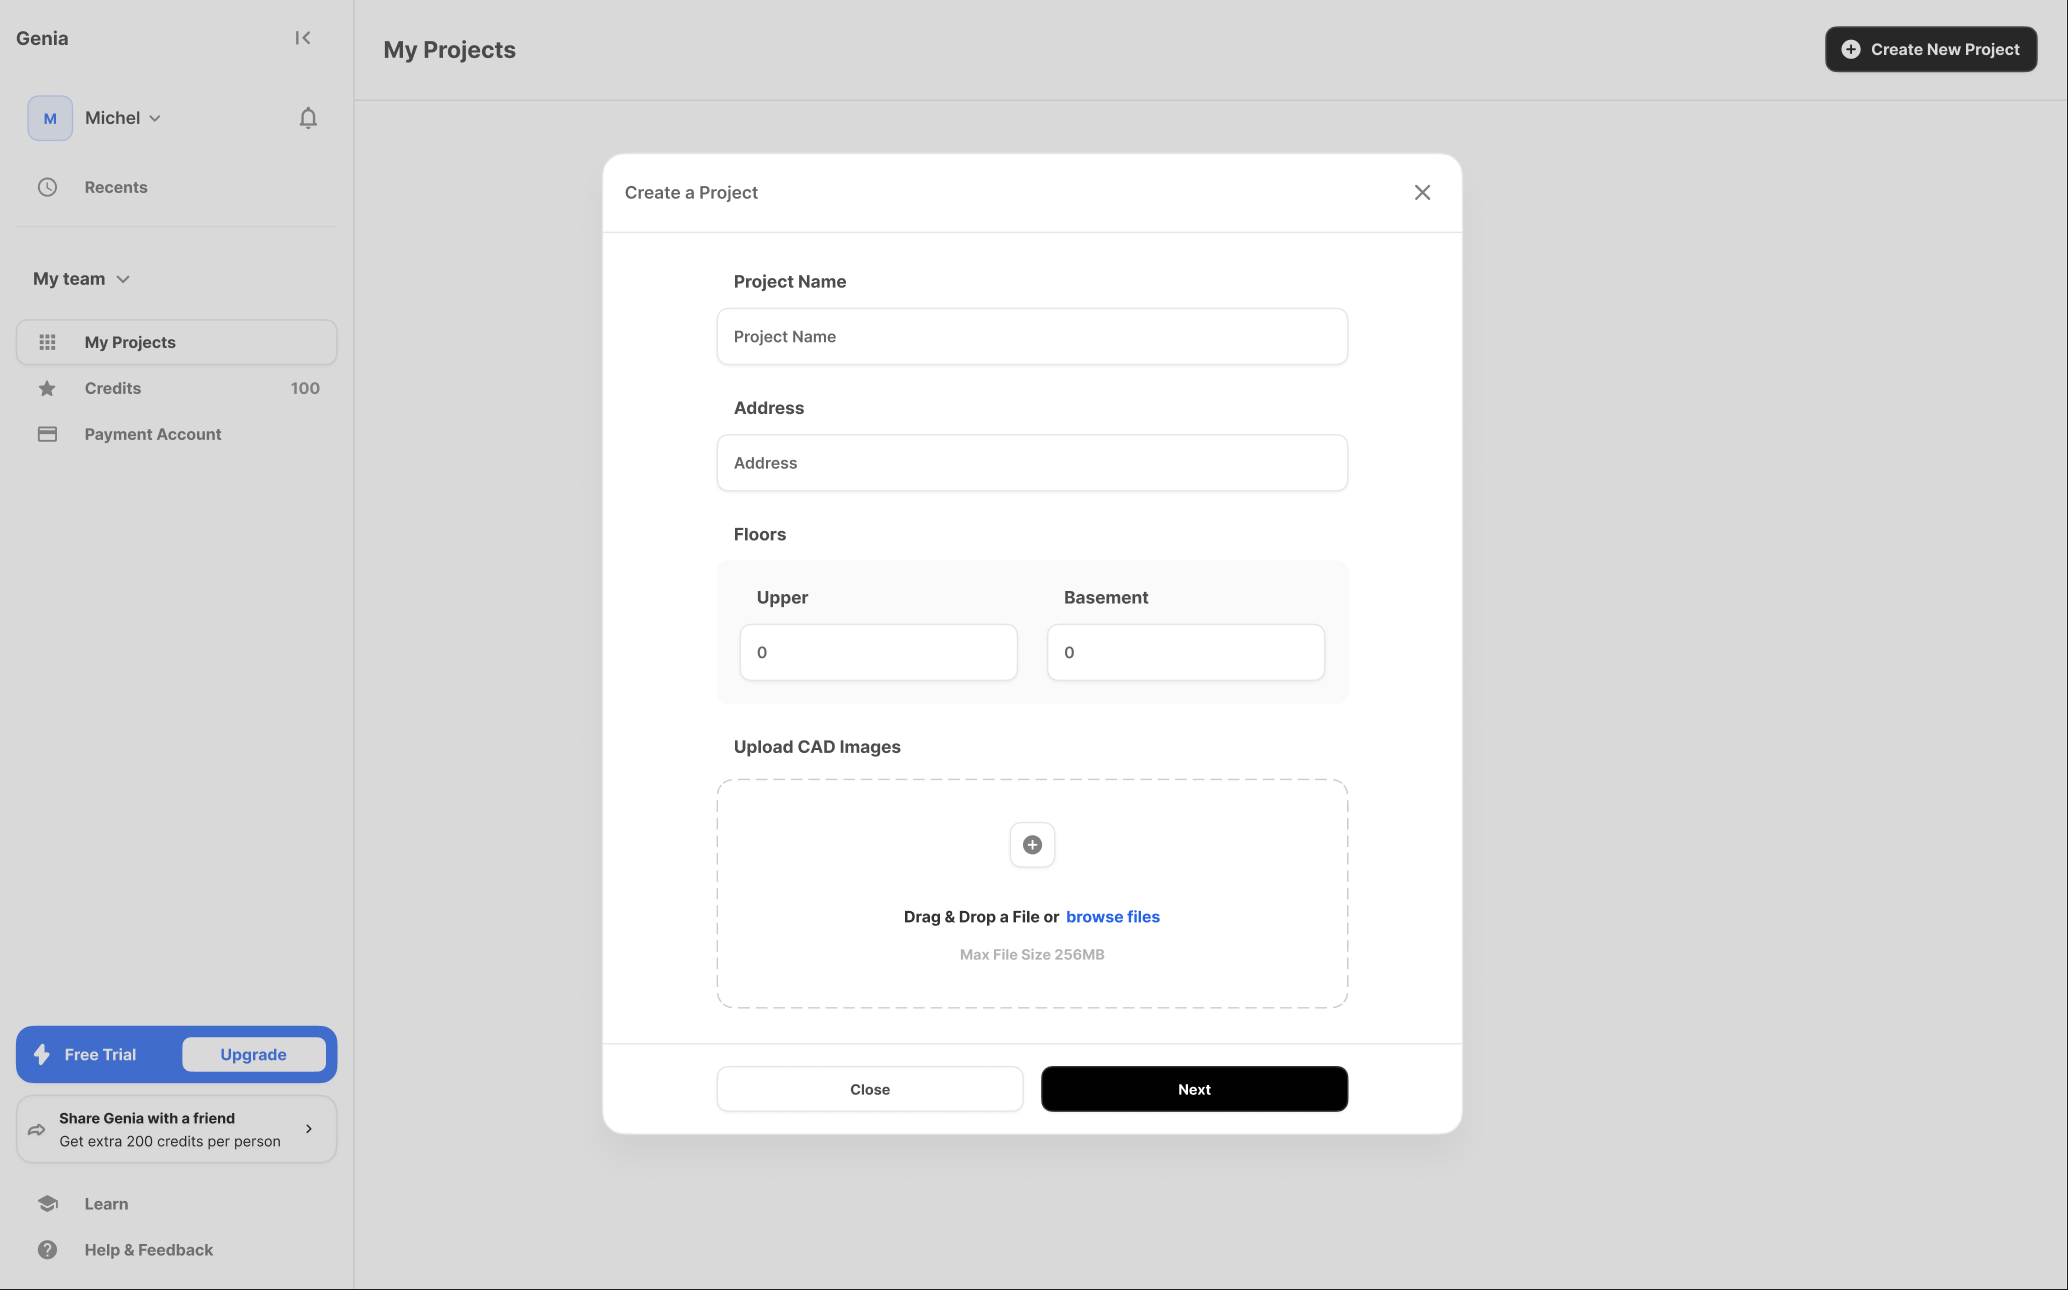
When you start a new project, you will be prompted to provide a unique Project Name for easy identification on your dashboard and an Address. The address field is integrated with Google Maps, providing autocomplete suggestions to ensure accuracy. This location data is critical, as Genia uses it to automatically retrieve environmental factors directly from ASCE, the organization that writes building codes for the United States, which informs subsequent seismic and wind calculations.
You will also define the building's massing by specifying the Number of Floors, including how many are above ground and how many are below. These fundamental inputs establish the project's foundation before you move on to more detailed parameters.
After setting the basic project information, you will configure the detailed design parameters that govern the structural analysis. These inputs are crucial for ensuring the AI-generated solutions are accurate, safe, and code-compliant.

The parameters are organized into logical groups:
You will also set the Risk Category for the building, which impacts the calculation of various environmental loads.
The final part of project creation involves defining specific design requirements and constraining the materials the AI can use. These inputs allow you to align Genia AI's output with client needs and standard construction practices.
You can set project-wide Deflection Limits, choosing from standard options like Code Minimum (L/360 for live load, L/240 for total load) or defining custom limits. You can also specify the maximum allowable Floor Depth and Max Wall Thickness for both interior and exterior walls to control the structural profile.
Under Materials Allowed, you can guide the AI's selection process. For the superstructure framing, you must choose between wood or steel. If you select wood, you can further specify the exact types of engineered lumber to be considered. For the foundation, which is a steel-reinforced concrete system, you will need to confirm the desired Concrete Strength, with 4,000 psi being the default.